
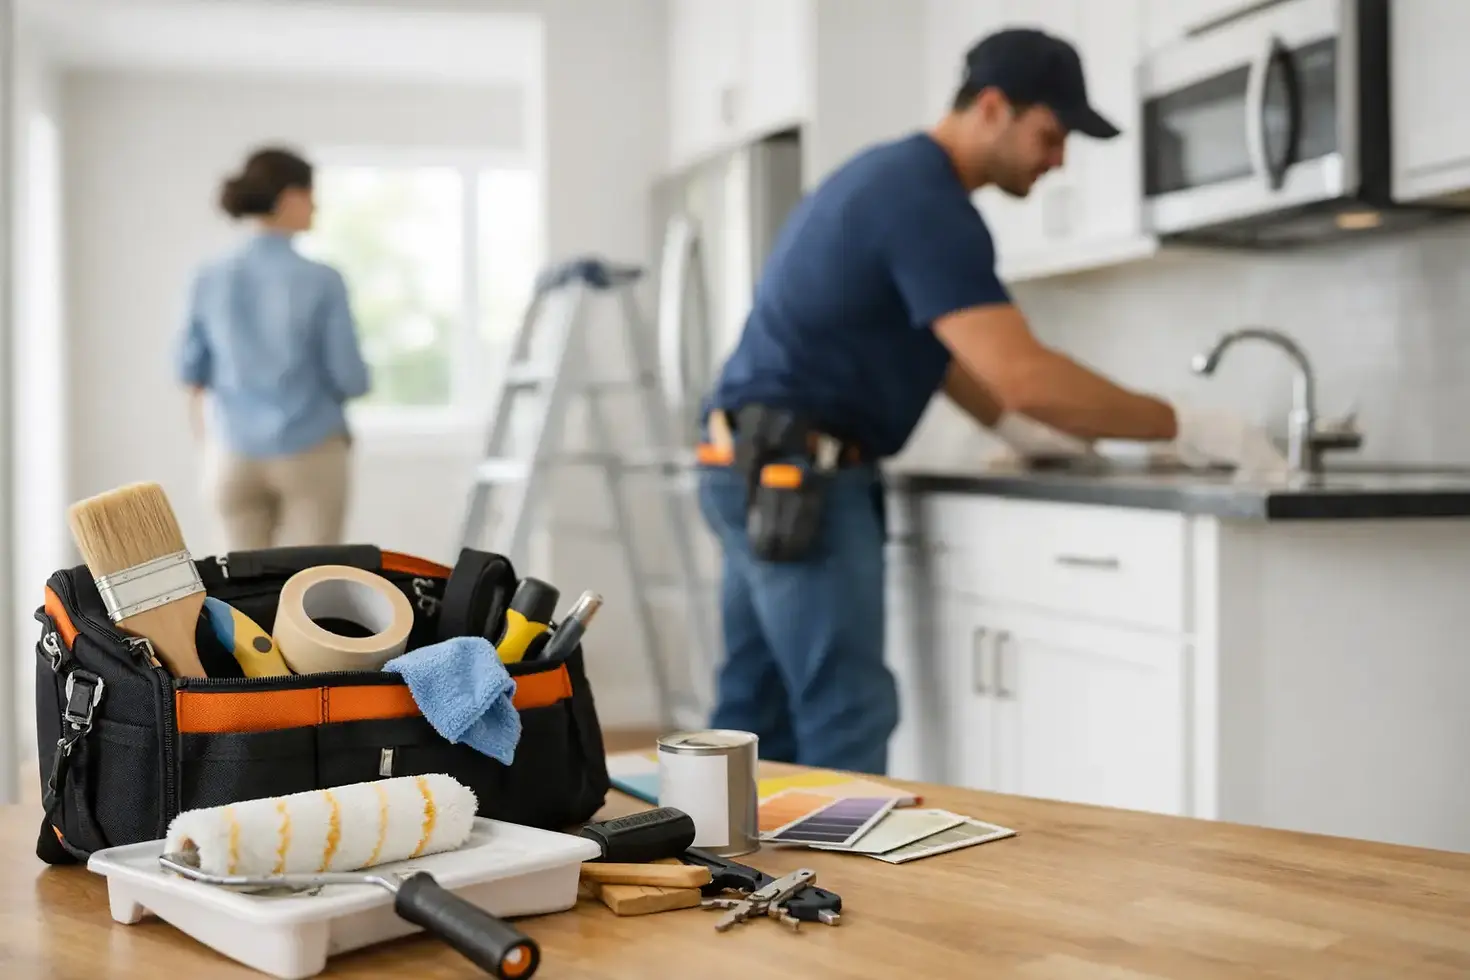
A Guide to Rental Make Ready for Faster Turns
- csearch2024
- 6 days ago
- 6 min read

A vacant rental can cost money every day it sits unfinished. This guide to rental make ready helps Dayton-area landlords, property managers, and investors move from move-out inspection to market-ready unit without overlooking the repairs that create delays, complaints, or costly callbacks.
A strong make-ready process is not just a deep clean and a coat of paint. It is a planned turnover that addresses safety, function, appearance, and durability in the right order. The goal is simple: hand the next resident a clean, working home while protecting your timeline and your investment.
Start With a Detailed Move-Out Inspection
Walk the property as soon as practical after possession is returned. Bring the prior move-in condition report, photos, and a checklist. Check every room, closet, utility area, exterior entry, and mechanical system. Small items are easy to miss when a unit is empty, but a loose toilet, damaged screen, or sticking bedroom door can become a maintenance call on day one of a new lease.
Separate findings into three categories: resident-caused damage, ordinary wear, and owner maintenance. Follow your lease and applicable Ohio requirements when handling security deposits and damage charges. For the make-ready scope itself, focus first on items that affect safety, water intrusion, security, habitability, or the ability to show the unit.
Photos and clear notes matter. They help you compare bids, approve work quickly, document conditions, and spot recurring issues across your portfolio. If the same type of repair appears at several properties, it may be time to choose a more durable material or schedule preventive maintenance.
Build the Rental Make-Ready Scope in the Right Order
The fastest turnovers usually happen when the work is sequenced correctly. Cleaning before drywall repair creates rework. Installing new flooring before fixing a plumbing leak risks damaging the new material. A practical order keeps trades from working over one another and gives you a cleaner final result.
Handle Safety, Water, and Security First
Start with the issues that cannot wait. Test smoke alarms and carbon monoxide alarms where required, verify that exterior doors lock properly, and replace damaged locks or rekey between residents. Confirm that windows open, close, and latch as intended. Check stair rails, handrails, porch steps, and deck boards for stability.
Look carefully for water problems. Inspect under sinks, around toilets, at the water heater, near appliances, and along ceilings below bathrooms. Repair active leaks before cosmetic work begins. Even a slow drip can stain cabinets, swell flooring, encourage mold growth, and turn a quick turnover into a larger restoration project.
Electrical concerns deserve the same attention. Test switches, outlets, GFCI protection where applicable, exhaust fans, lights, and the electrical panel for obvious concerns. Burned outlets, loose fixtures, flickering lights, or tripping breakers should be evaluated and repaired by a qualified professional.
Repair Walls, Doors, and Fixtures
Once critical repairs are addressed, move to the visible condition items that shape a prospect's first impression. Patch nail holes, dents, damaged drywall, and ceiling stains after confirming the source of any moisture has been fixed. Adjust doors that rub, replace damaged hardware, repair closet tracks, and make sure cabinet doors and drawers operate smoothly.
Bathroom and kitchen fixtures deserve a close look because they receive the most daily use. Tighten loose faucets, recaulk tubs and sinks, replace cracked outlet covers, repair leaking shutoff valves, and confirm that toilets flush securely without rocking. These are modest repairs compared with a full remodel, but they signal that the property is maintained.
Paint Before Flooring and Final Cleaning
For most rentals, neutral, durable paint is the practical choice. Paint after drywall work and before new flooring, but after major plumbing or electrical repairs that might require opening walls. Use a consistent color plan across units whenever possible. It makes touch-ups faster, simplifies purchasing, and helps keep vacancies from turning into custom paint projects.
Flooring decisions depend on condition, budget, and expected resident wear. A professional cleaning may be enough for a carpet that is sound and odor-free. Replacement is often the better investment when carpet is heavily stained, worn at traffic paths, or retaining pet odor. Durable hard-surface flooring can reduce future turnover work in high-traffic rentals, although the upfront cost may be higher.
Clean for the Next Resident, Not Just the Showing
A make-ready clean should leave the unit ready to live in, not merely presentable for photos. Clean appliances inside and out, including the oven, refrigerator, range hood, and dishwasher filter when applicable. Wipe cabinets and drawers, sanitize bathrooms, clean blinds and window tracks, remove debris from closets, and address dust on vents, baseboards, and ceiling fans.
Odors require more than air freshener. Identify the cause first. Pet odor, cigarette smoke, food residue, mildew, and trash odors each need a different response. Cleaning, sealing, ventilation improvements, carpet replacement, or targeted repairs may be necessary. Covering an odor temporarily can lead to a difficult conversation once the next resident moves in.
Outside, make the entry feel cared for. Remove litter, clear walkways, replace burned-out exterior bulbs, trim back overgrowth, and check that house numbers are visible. You do not need a major landscape project for every turnover, but a safe, tidy exterior supports better showings and sets the tone before a prospect enters.
Know When a Quick Fix Is Not the Best Fix
Rental make ready is about controlling costs, but the cheapest repair is not always the most economical. Repainting peeling bathroom walls every turnover may cost more over time than improving ventilation and using the right moisture-resistant materials. Repeatedly repairing damaged fence sections may be less sensible than replacing a failing run with a durable solution.
Use the turnover to assess upgrades that reduce future maintenance. Consider replacing an unreliable faucet, worn garbage disposal, failing bath fan, damaged vanity, or outdated light fixture when repair costs are approaching replacement value. For investors preparing a newly acquired property, a larger value-add update may make sense before the first lease rather than between occupied tenancies.
The decision depends on rental class, neighborhood expectations, holding period, and your maintenance history. Avoid over-improving beyond what the local market supports, but do not let visible deferred maintenance make a good unit harder to rent. Consistent, functional finishes usually outperform trendy upgrades that are difficult to repair or replace later.
Complete a Final Quality-Control Walkthrough
Before listing the unit or handing over keys, walk it as a new resident would. Turn on every light, run water at every fixture, flush toilets, test appliances, operate doors and windows, and confirm that locks work. Open cabinets and closets. Look at walls from different angles for missed patches or paint touch-ups. Check that debris, tools, and construction materials are gone.
A final walkthrough should also verify the details that prevent immediate service calls:
HVAC filters are clean and the system is operating normally.
Smoke and carbon monoxide alarms are tested and documented.
Drains run freely, and there are no active leaks under sinks or around toilets.
Keys, remotes, mailbox keys, and access codes are organized for the new resident.
Required disclosures, utility information, and property instructions are ready for move-in.
This last check is where a dependable contractor or maintenance partner adds real value. Instead of coordinating separate calls for drywall, paint, plumbing, flooring, door repairs, and exterior touch-ups, you can keep the scope moving through one point of contact. NovaCraft Construction helps local property owners handle those connected repairs with practical scheduling and workmanship focused on getting the job done right the first time.
Keep Future Turns Shorter With Better Records
The best rental turnover process improves with every vacancy. Save inspection photos, invoices, paint colors, flooring details, appliance model numbers, lock information, and notes about recurring repairs. A simple property file makes it easier to authorize work, order matching materials, and plan replacements before an emergency forces the decision.
For properties with frequent maintenance needs, schedule periodic checks while the home is occupied. Catching a minor leak, loose railing, failing caulk line, or aging deck board early can prevent a surprise project when you need the unit ready for the next resident.
A well-prepared rental gives your next resident confidence from the first walk-through. Put safety and function first, make the visible details count, and treat each turnover as a chance to reduce the work waiting for you next time.


Comments